DANDI Authentication
Setting up your GitHub OAuth Account
Please follow the steps in Initialize Vendors - GitHub to get started.
For the next steps in setting up authentication, you'll want to record the values created during Obtaining your Oauth App creds.
Creating and Updating Objects in the DANDI Archive Admin Panel
Creating "Sites" and "Social App" Objects
In order to complete this step, you will need to have deployed an initial DANDI Archive API. See Creating the DANDI Archive API for more details.
First, sign in via the Django admin panel with your credentials created via the Creating an admin user account for the DANDI Archive API step
The Django Admin panel should be located at: <your_full_api_url/admin
Proceed to the Sites tab. Create 2 sites: one for your UI, and another for your API domain.
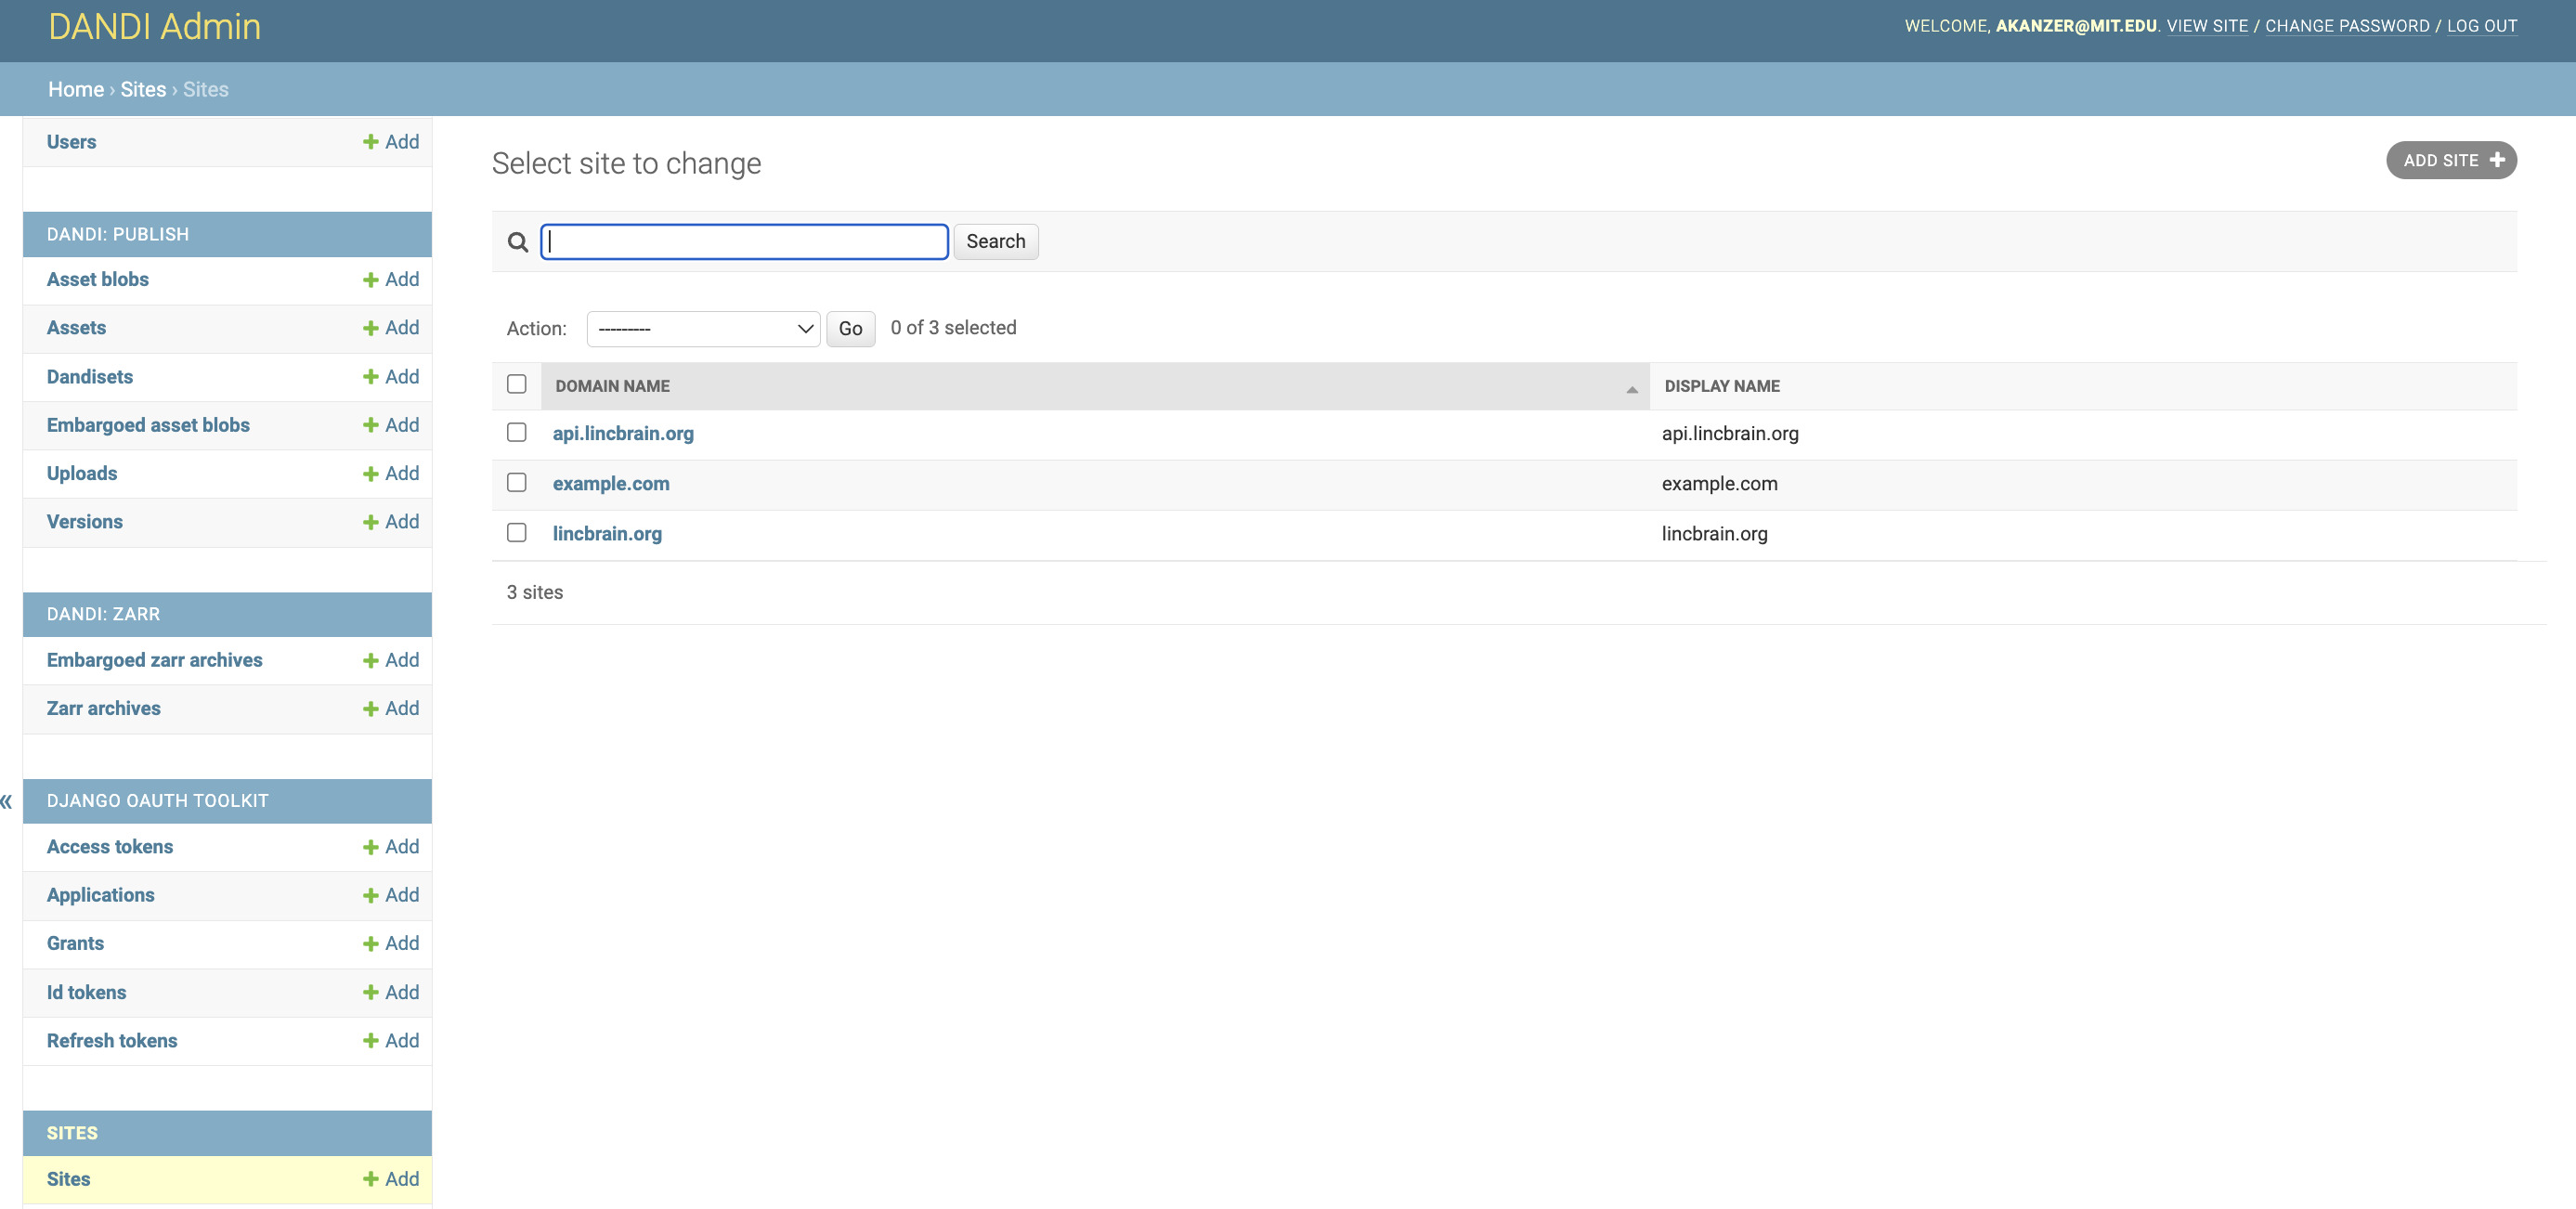
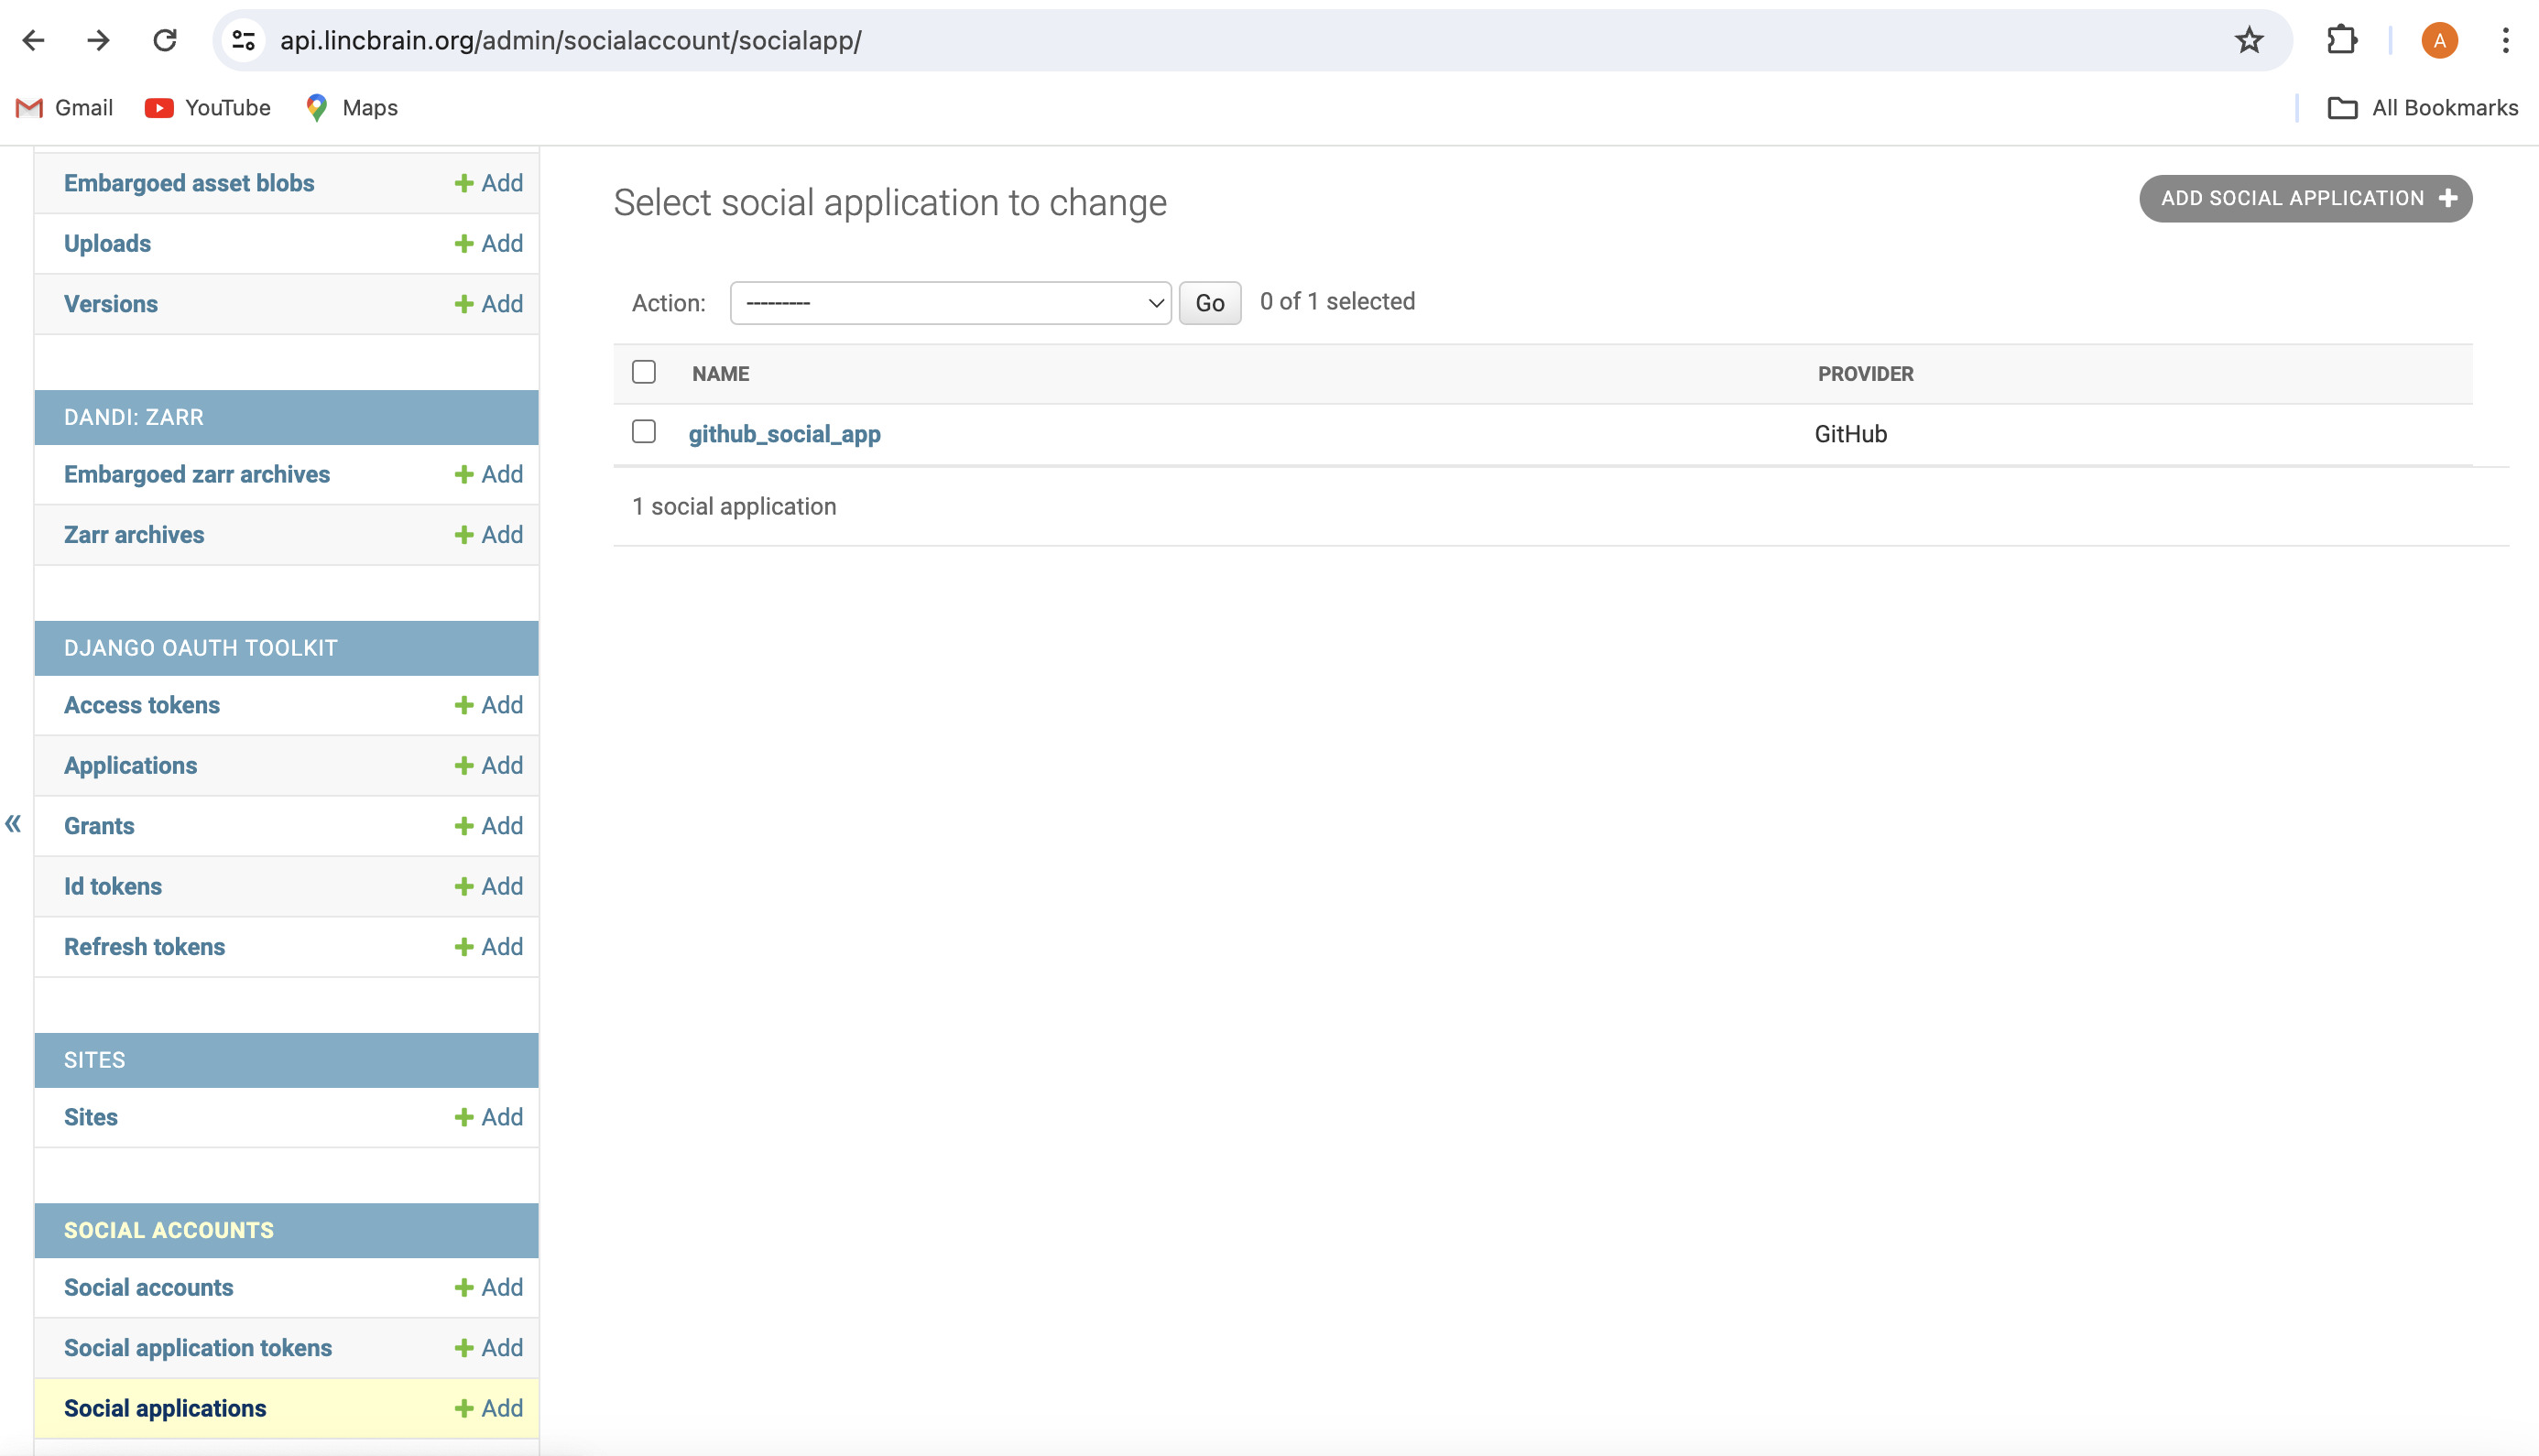
Proceed to the Social applications tab, located on the left side panel.
Click Add Social Application in the top right corner.
Create a Social Application object with:
- The Provider as
GitHub - The client ID as your GitHub OAuth client ID
- The client secret as your GitHub OAuth client secret
- Two
Sitesobjects -- these objects you should have created a few steps prior
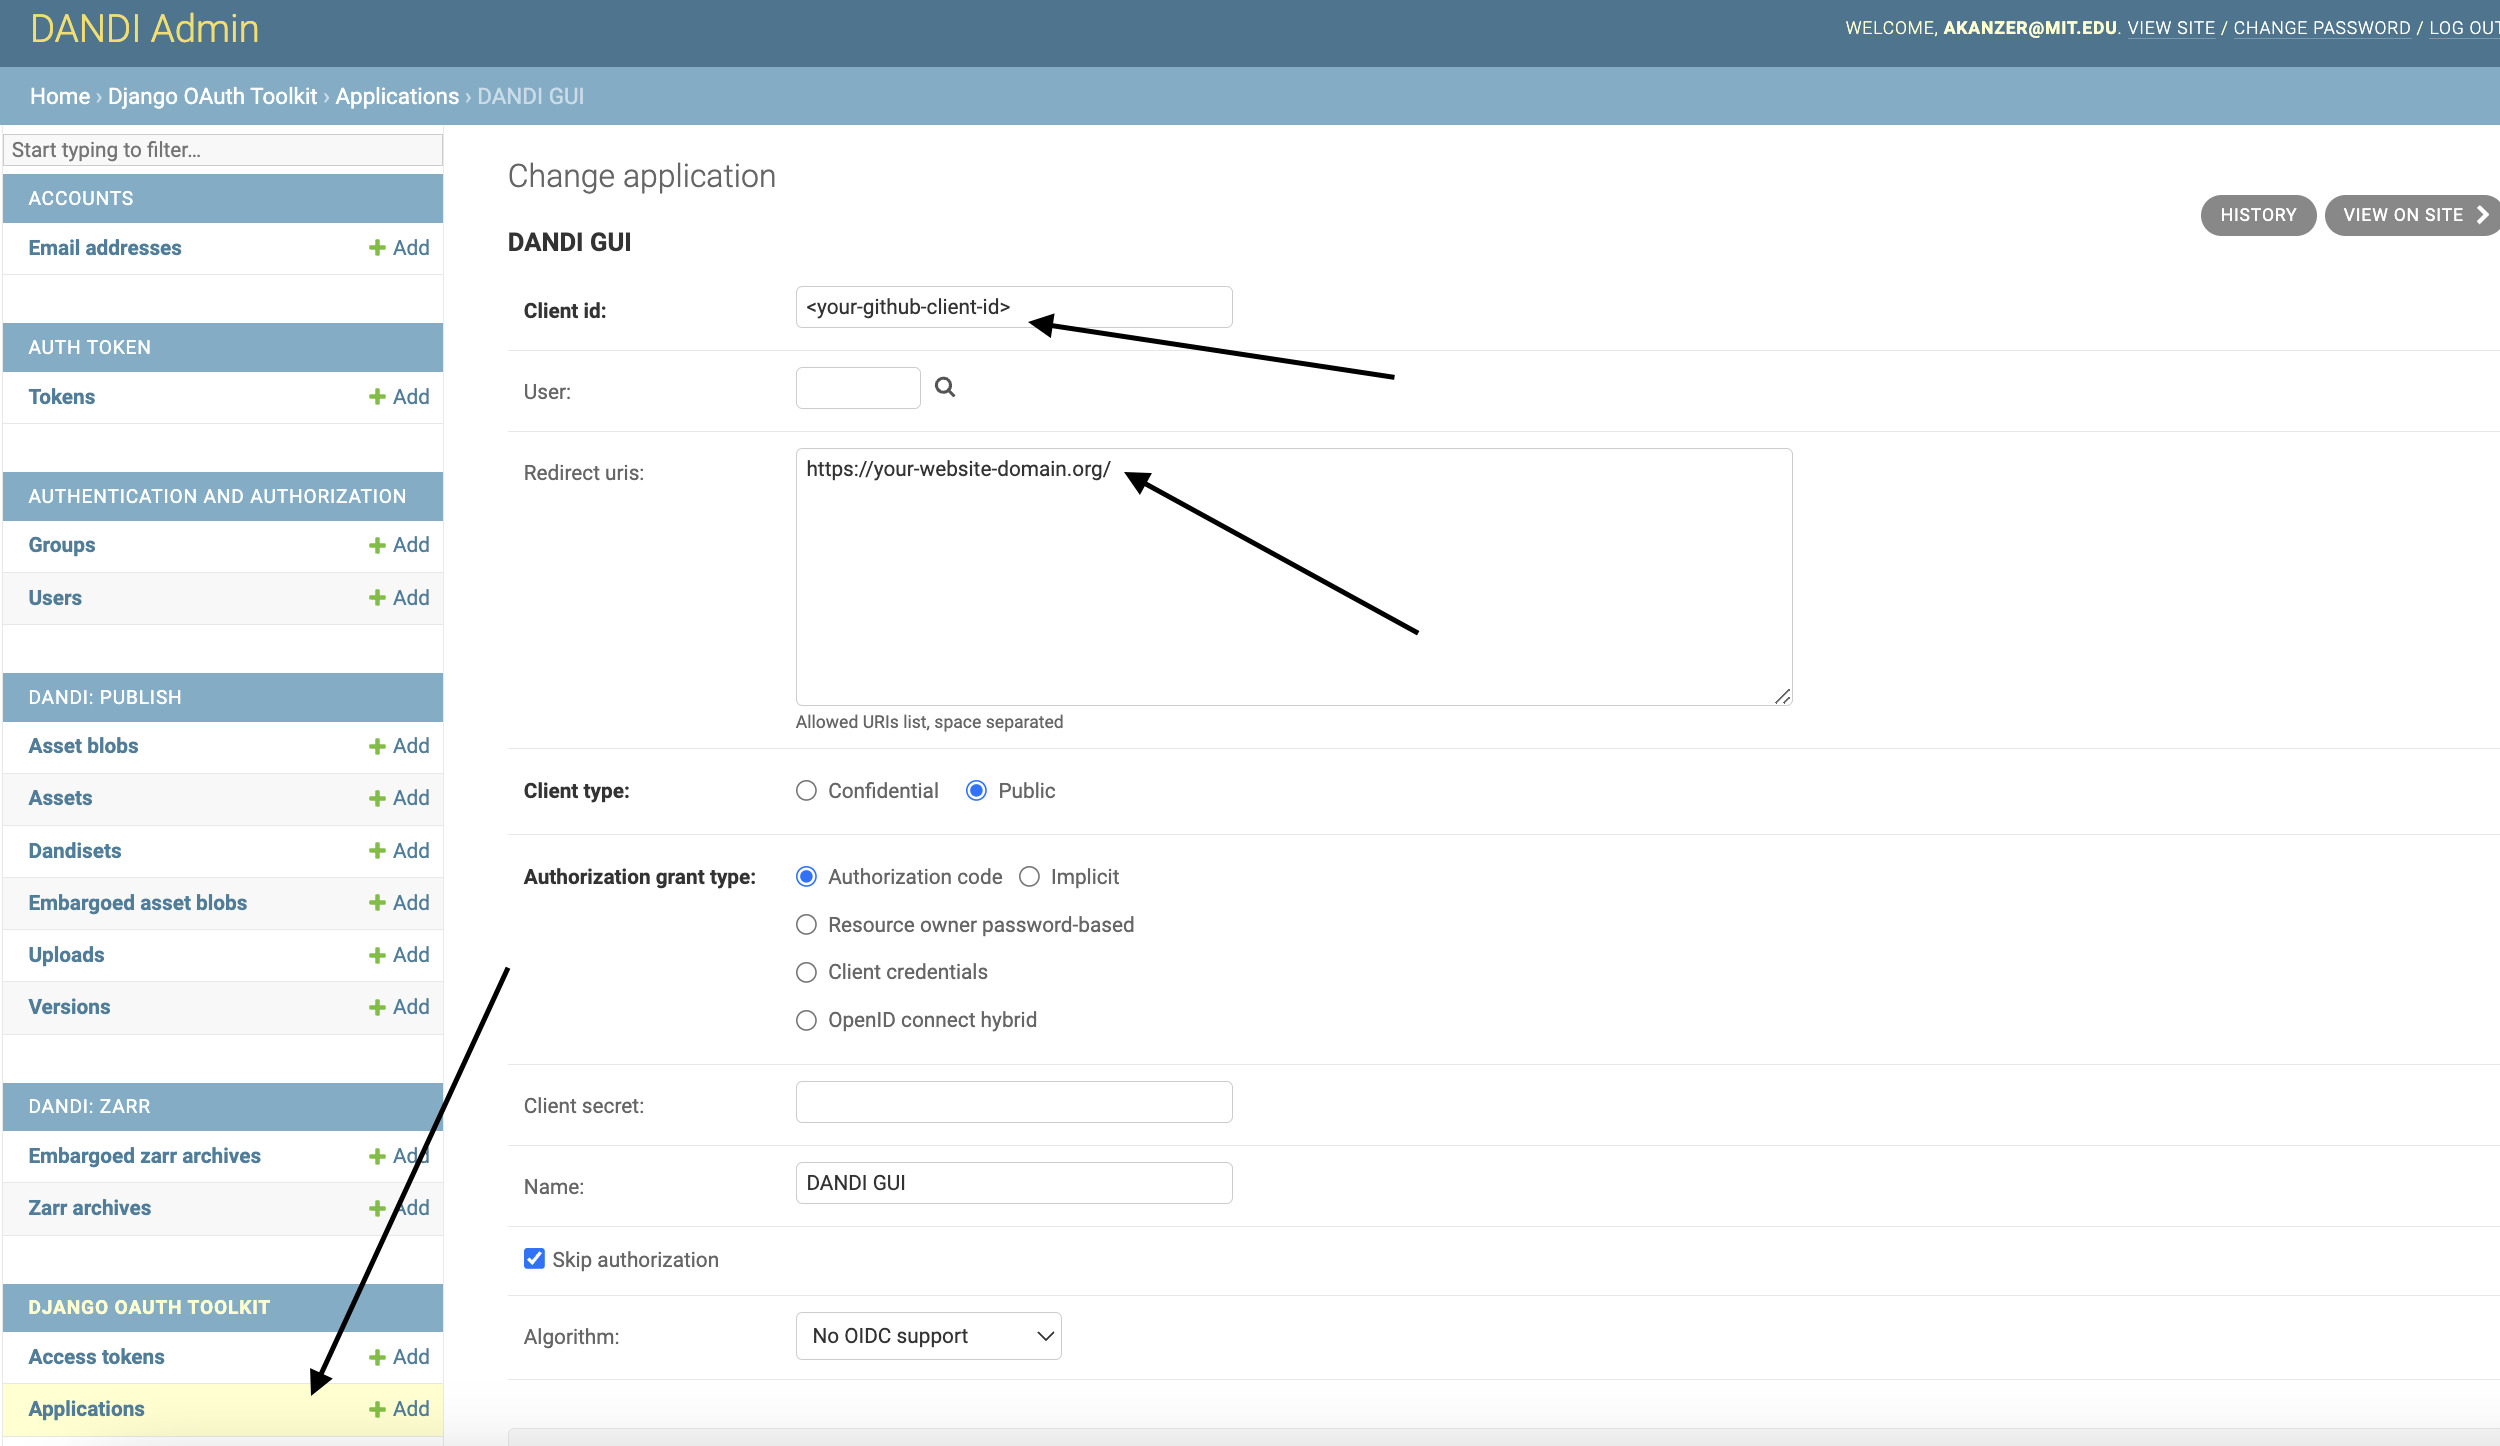
Updating (or creating) the "Application" Object
Stay signed in the Django Admin panel. Update (or create, if not present) an Application object. Similar to the steps above,
populate the client ID with your Github OAuth client ID. See the screenshot below for the configuration that would be appropriate.
If this object exists (it can if you ran migrations first or deployed to Heroku), update the values to your appropriate redirect URLs and client ID.
After creating this object, you are all set in the Django Admin panel for now.
Populating appropriate values for the frontend to handle authentication
This step assumes that you have successfully set up your Netlify account.
There are two places to update values relevant to the frontend.
netlify.toml.env.production
For netlify.toml: This should be located in the web/ sub-directory -- see DANDI Archive web/netlify.toml. This is a file in which you can configure different settings for different environments in Netlify.
For .env.production: This should also be located in the web/ sub-directory -- see DANDI Archive web/.env.production. This is a file that will inject environment variables into the frontend upon build (e.g. vite build).
Update the relevant values that reflect what was in your Social Application object for both files. You will also notice an environment variable related to Sentry -- this value can be obtained from your Sentry account.